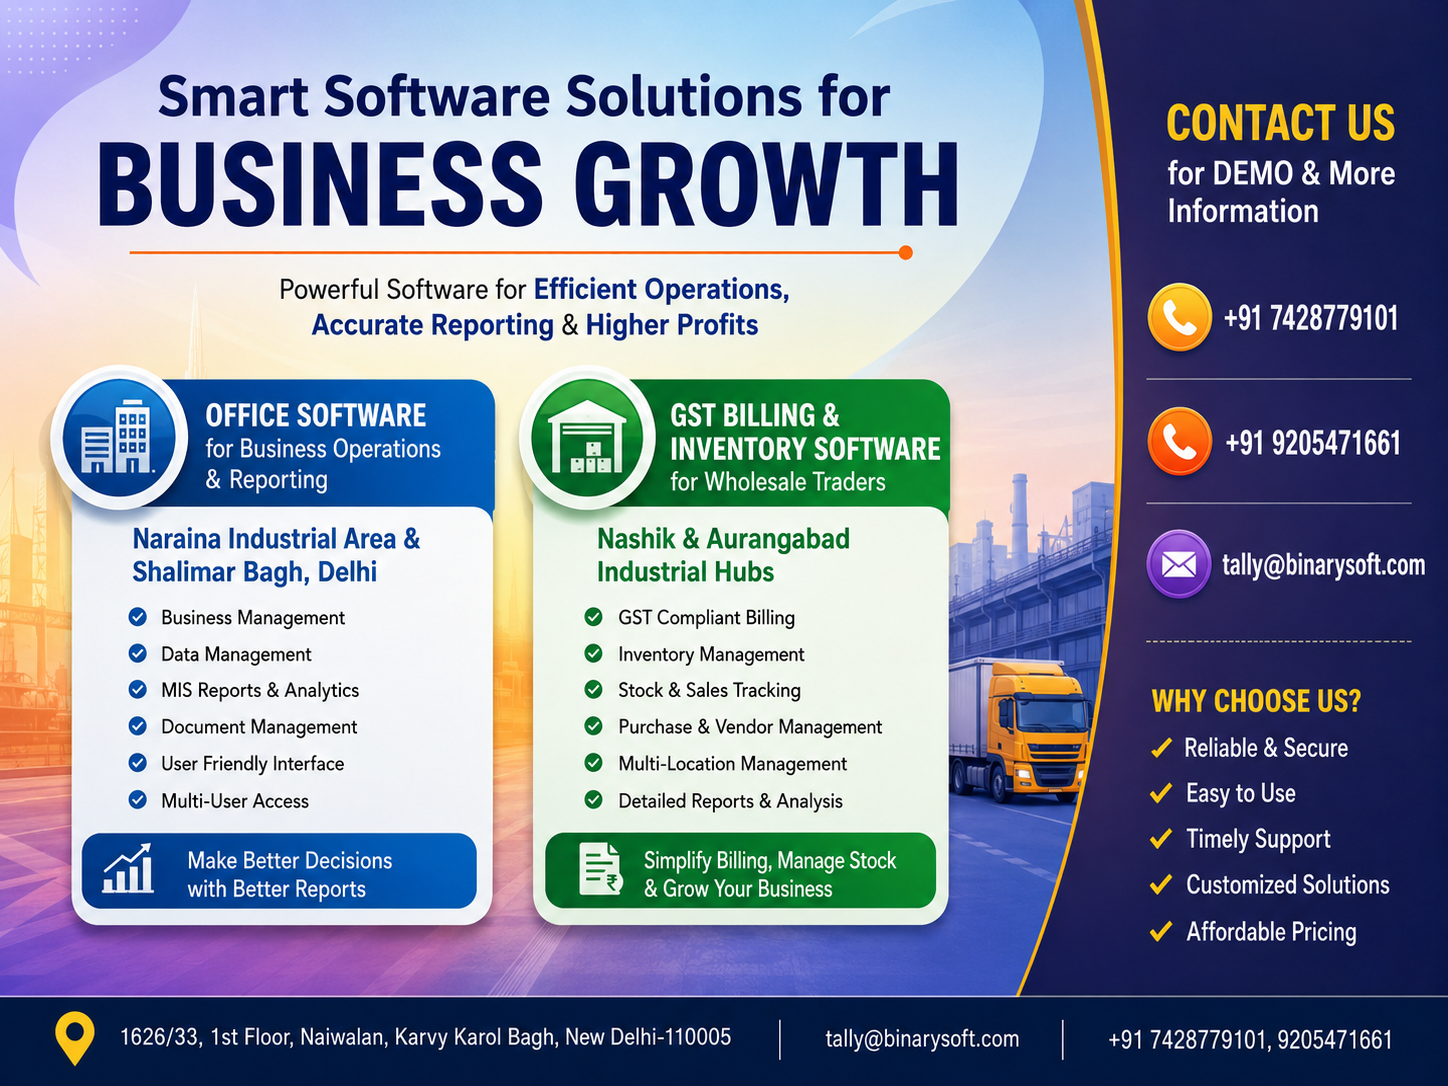
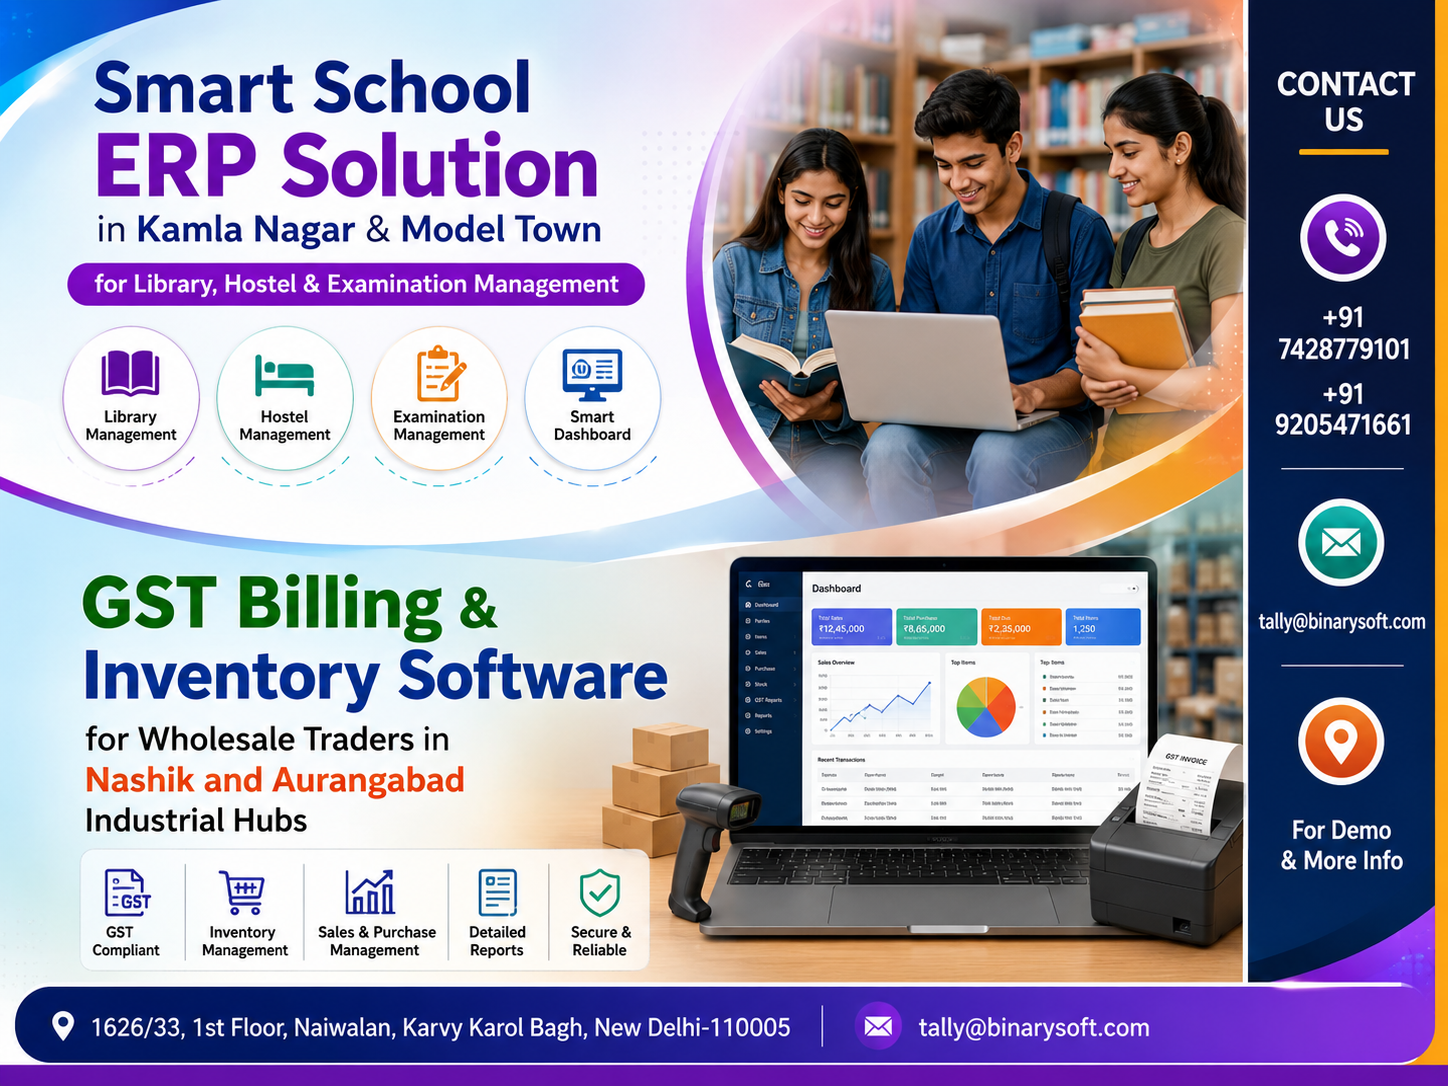
Call CA Tally HelpDesk
+91 9205471661,
7428779101
")
If you’re using Tally Prime and want to send invoices, reminders, and updates directly to customers on WhatsApp/SMS, Bharat Connect is one of the popular tools businesses use alongside Tally.
Below is a simple, non-copyrighted, 6-minute read guide that explains:
- What Bharat Connect is in a Tally context
- Prerequisites
- How to configure it step by step
- How to send messages from your Tally data
- Tips, best practices, and FAQs
Note: Bharat Connect is an external service that integrates with your business workflow. The exact screens and menu names may differ slightly depending on the version you use, but the overall process is similar.
What Is Bharat Connect for Tally Users?
Bharat Connect is typically used by businesses to:
- Send WhatsApp / SMS notifications for invoices, receipts, payment reminders, or offers
- Automate messages using templates
- Use Tally data (party name, amount, due date, invoice number, etc.) in messages
When you connect your business processes in Tally Prime with Bharat Connect, you can:
- Reduce manual calling and follow-ups
- Improve payment collection and communication
- Give customers quick digital copies of invoices and reminders
Benefits of Using Bharat Connect with Tally Prime
- ✅ Instant communication – invoice shared within seconds of saving in Tally
- ✅ Professional reminders – automatic follow-up, less manual work
- ✅ Better cash flow – faster customer responses and payments
- ✅ Reduced printing cost – soft copy instead of physical invoice
- ✅ Audit-friendly – digital trail of sent messages
Prerequisites Before You Start
Before setting up Bharat Connect for your business with Tally Prime, make sure you have:
- Licensed Tally Prime
- Activated and working on your system/server.
- Stable internet connection
- Required for sending data to Bharat Connect servers and WhatsApp / SMS APIs.
- Bharat Connect account
- Sign up on their website or through their sales partner.
- You will usually get:
- Login ID & password
- API key / token or integration credentials
- Support documents or URLs
- WhatsApp Business number or SMS route
- A WhatsApp Business API / BSP connection or SMS route, depending on the plan.
- Some providers manage this for you.
- Basic understanding of Tally Prime
- Creating ledgers, vouchers, and viewing outstanding reports.
Overall Steps to Set Up Bharat Connect for Business with Tally Prime
We can break down the implementation into 6 main stages:
- Create Bharat Connect account and choose a plan
- Configure business profile and WhatsApp/SMS settings
- Prepare Tally Prime data for integration
- Connect Tally Prime to Bharat Connect (via desktop app / connector / export)
- Create message templates (invoice, payment reminder, thank you, etc.)
- Test and go live with daily usage
Let’s go through each stage in detail.
Step 1 – Create Your Bharat Connect Account
- Visit the Bharat Connect website
- Open your browser and search “Bharat Connect WhatsApp business” or go to the official site if you already know the URL.
- Sign Up / Register
- Click on Sign Up, Register, or Get Started.
- Fill in:
- Business name
- Contact person
- Email ID
- Mobile number
- Industry and approximate message volume (if asked)
- Verify your email / mobile
- Enter OTP if required.
- Set a strong password.
- Choose a Plan
- Select a trial plan or paid plan depending on:
- Number of WhatsApp/SMS messages required
- Features like APIs, templates, automation, etc.
- Login to Dashboard
- After registration, log into the Bharat Connect dashboard.
- Note down:
- Account ID / Client ID
- API Key / Token
- Any webhook URL or integration URL provided
Step 2 – Set Up Business Profile & Channels
Once you’re inside the Bharat Connect dashboard:
- Business Profile Settings
- Add:
- Business name
- Address
- GSTIN (if required)
- Logo (optional, but good for branding)
- WhatsApp Business Integration (if applicable)
- Go to WhatsApp / Channel settings.
- Link your WhatsApp Business number as per the provider’s guidance.
- Approve templates if they use official WhatsApp Business API.
- This step may require:
- Facebook Business Manager verification
- Display name approval
- Phone number registration
- SMS Gateway (if used)
- Add or activate SMS route.
- Configure sender ID (like BIZSMS or your brand name).
- Time & Language Settings
- Set country and time zone to India (IST), if available.
- Select default language – usually English, but you can also send templates with mixed Hindi/English copy.
Step 3 – Prepare Your Tally Prime for Integration
In Tally Prime, do a quick housekeeping before you integrate:
- Standard Party Names & Mobile Numbers
- Ensure your Sundry Debtors and Sundry Creditors ledgers have:
- Correct Name
- Valid Mobile number (10-digit)
- WhatsApp number if different from office landline
- Address & Email Fields
- Optional but recommended for future use (email + WhatsApp + SMS).
- Invoice Format
- Make sure your Sales Voucher is properly configured with:
- Invoice number
- Invoice date
- GST details
- Total amount
- These fields are often used as variables in templates.
- Outstanding Report Accuracy
- Check that your Bills Receivable / Bills Payable in Tally are accurate, because these due amounts will be used in reminders.
Step 4 – Connect Tally Prime with Bharat Connect
There are generally two common methods used by such tools:
- Method A: Connector / Desktop Application
- Method B: Data Export + Upload / API
The exact method depends on the Bharat Connect solution you’re using. The concept, however, is similar.
Method A – Connector / Desktop Application
- Download the Connector
- From Bharat Connect dashboard, find Download Tally Connector / Desktop App.
- Download and install it on the same machine or LAN server where Tally Prime runs.
- Run Connector & Login
- Open the connector application.
- Enter:
- Bharat Connect username / password
- API key / token if asked
- Configure Tally Settings
- Set Tally Port (default is 9000, or the port you have defined in Tally).
- Ensure Tally is running in ODBC / Tally Server mode if required.
- Test connection:
- Click Test Connection
- Connector should show “Connected to Tally” or similar message.
- Map Fields
- Map Tally’s:
- Party name → Customer Name
- Contact number → Mobile / WhatsApp
- Invoice number → Document No.
- Amount → Invoice / Outstanding amount
- Due date → Bill due date
- Save mapping.
- Sync Data
- Click Sync / Fetch to import:
- Customer list
- Outstanding bills
- Recent invoices
Method B – Export & Upload / API
If no connector is provided and they use API or manual upload:
- Export Data from Tally Prime
- Go to the required report (e.g., Bills Receivable or Sales Register).
- Press Alt+E (Export) and choose Excel / CSV / XML.
- Ensure mobile numbers and amount fields are included in export.
- Upload Into Bharat Connect
- In Bharat Connect dashboard, go to Contacts / Import / Upload Data.
- Upload the exported file.
- Map the columns (name, mobile, amount, due date).
- Save the mapping for future re-use.
- Set API (Optional)
- If they provide an API to push data directly, your Tally partner or developer can:
- Create a small integration using Tally’s XML / ODBC
- Push data to Bharat Connect API periodically (for advanced users).
Step 5 – Create WhatsApp / SMS Templates For Tally Transactions
Templates make your messages professional and consistent.
- Go to Templates Section in Bharat Connect
- Click Templates / Campaign Templates / Message Templates (name may vary).
- Create an Invoice Sharing Template
Example message structure:
Hi {{CustomerName}},
Thank you for your purchase from {{CompanyName}}.
Invoice No: {{InvoiceNo}}
Date: {{InvoiceDate}}
Amount: ₹{{InvoiceAmount}}
You can make payment via UPI / Bank Transfer. For any query, reply to this message.
Assign variables like:
-
- {{CustomerName}} → Party Name from Tally
- {{InvoiceNo}} → Invoice number
- {{InvoiceDate}} → Voucher date
- {{InvoiceAmount}} → Invoice total
- Create Payment Reminder Template
Dear {{CustomerName}},
This is a gentle reminder for your pending invoice with {{CompanyName}}.
Total Due: ₹{{OutstandingAmount}}
Due Date: {{DueDate}}
Kindly clear the payment at the earliest. Ignore if already paid.
- Get Templates Approved (If Using Official WhatsApp Business API)
- Submit templates for approval if required.
- Once approved, they appear in your active template list.
Step 6 – Sending Messages from Tally Data
Once integration and templates are ready, you can start sending messages.
Sending Invoice Messages
- Create & Save Invoice in Tally Prime
- Record a Sales voucher as usual.
- Ensure customer name and mobile number are correct.
- Sync Data (if connector-based)
- The connector may automatically pick up new invoices at defined intervals.
- Or click Sync Now in the connector app.
- Trigger Message in Bharat Connect
- Open the Bharat Connect dashboard.
- Go to Invoices / Recent Transactions / Campaign.
- Filter by date or invoice number.
- Select the invoice(s) and choose Send via WhatsApp/SMS.
- Pick the Invoice template and send.
Sending Bulk Payment Reminders
- Fetch Outstanding Data from Tally
- Sync Bills Receivable via connector or export and upload.
- Create a Reminder Campaign
- In Bharat Connect:
- Go to Campaigns / Bulk Messaging
- Select customers with pending dues
- Choose a Payment Reminder template
- Schedule or Send Immediately
- You can send instantly or schedule for:
- Evening
- Weekends
- Specific reminder cycle (e.g., every 7 days)
Best Practices for Using Bharat Connect with Tally Prime
- Keep mobile numbers updated in Tally – no messages will go without correct numbers.
- Avoid over-messaging – respect customers’ preference and avoid spamming.
- Use clear, simple language – easy to read on mobile screens.
- Segment your contacts – reminders for overdue invoices, offers for loyal customers, etc.
- Monitor reports – check delivery status, read status, and responses in Bharat Connect dashboard.
- Train your staff – ensure accounts / billing team knows when and how messages are triggered.
FAQs on Bharat Connect & Tally Prime
Q1. Is Bharat Connect directly built inside Tally Prime?
No. Bharat Connect is an external solution that integrates with Tally data via connector, export, or API. Tally Prime continues to work as your accounting software; Bharat Connect handles communication.
Q2. Do I need a Tally customization to use Bharat Connect?
Not always.
- If the provider gives a ready connector or desktop tool, you may not need heavy customization.
- For advanced automation (e.g., auto-send on voucher save), your Tally partner might create small customizations or use Tally’s XML/ODBC interface.
Q3. Can I send WhatsApp and SMS both?
Yes, most such solutions support both WhatsApp and SMS. You can choose per campaign:
- Only WhatsApp
- Only SMS
- WhatsApp + SMS fallback
Q4. Is customer data safe?
Reputed providers use secure APIs and encryption, but you should always:
- Read the privacy policy & security details
- Use strong passwords
- Limit dashboard access only to authorized staff
Q5. Will this increase my Tally license cost?
No, your Tally Prime license cost remains same.
You will, however, pay separately for:
- Bharat Connect subscription
- WhatsApp / SMS charges (as per their plan)
Powered by Binarysoft Technologies
Authorized Tally Partner
Location : 1626/33, 1st Floor, Naiwalan, Karol Bagh, New Delhi – 110005, INDIA
Contact us : +91 7428779101, 9205471661
Email us : tally@binarysoft.com (10:00 AM – 6:00 PM, Mon–Fri)
CA. Rishubh Talrejaa specializes in GST, business accounting, and compliance advisory for growing enterprises. With experience in handling real-time transactional data and audits, he writes practical insights on inventory control, taxation, and digital transformation for Indian businesses operating in competitive markets.